
Diagnosing and fixing loose pinions on the Z-Head
This article will help to diagnose the problem of loose pinions on the Z Head.
< Previous | List | Next >
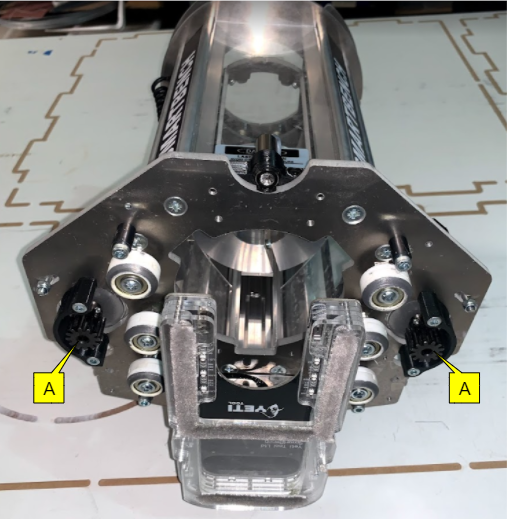
If you have loose pinions this may cause problems in doing precision machining, your job will not cut to the desired profile. Z Head has 2 pinions located on the underside.
A: Z Head pinions
Check pinions engagement
First you have to check whether the pinions are fully engaged with the racks. Click here to learn more about properly engaging Z Head pinions.
Bring Z Head close to the home end or close to the console and inspect the pinions with a flashlight.
B: Z Head
C: Console

Diagnosing loose pinions
Firstly, make sure your SmartBench is turned on, click here to learn more.
Move Z Head to the middle of the Upper X Beam and try to rotate Z Head while holding the motors. If you feel movements or a click sound then this confirms you have loose pinions.
D: Motor (Right side)
E: Motor (Left side)

Tightening the pinions
Once you have identified that you have loose Z Head pinions, remove the Z Head, click here to learn how.
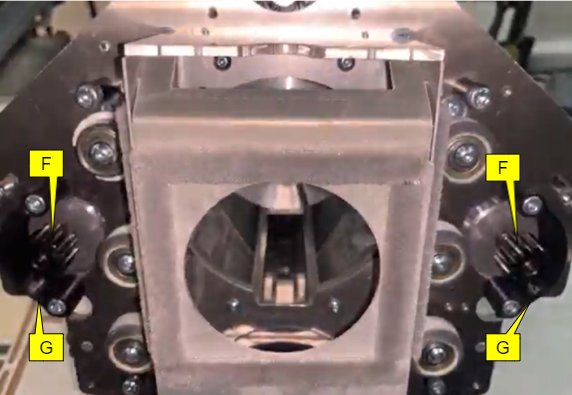
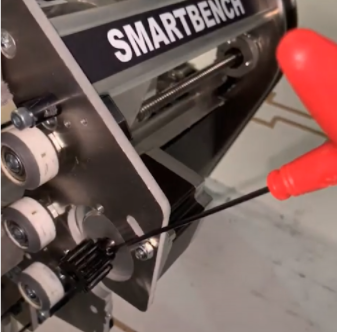
To access the pinions you need to remove the pinion guards.
F: Pinions (Z Head)
G: Pinion guards
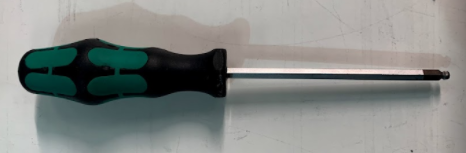
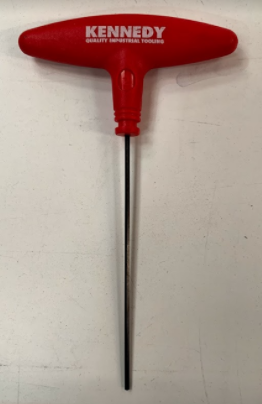
To remove the pinion guard you can use a 4mm hex screwdriver.
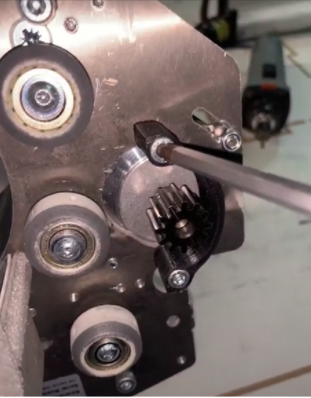
The pinion is fixed on the shaft of the motor with the help of four grub screws.
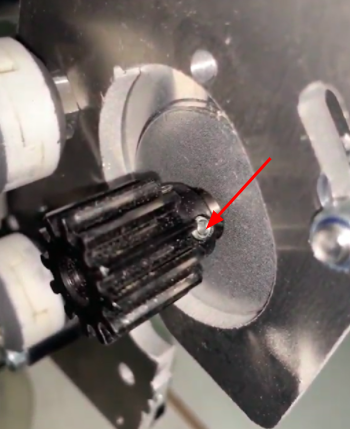
You can use a 2mm allen key to tighten the grub screws.
While tightening you can also identify whether the screws were loose or not.
|
|
If you still have issues with the pinions then submit a support ticket by clicking here. |

Reassemble the Z head
Once you are happy with the pinion settings you can reassemble the Z Head back on the X Beam, click here to learn how.