
Finishing your first job
Clean the work area
Although the extraction removes the vast majority of chips and dust created during the job, there will be some left.
Use the console to manually move the Z axis up, and move the X axis away from the work area. Clean the work area with a vacuum cleaner.
|
|
Click here to learn how to manually move the SmartBench axis. |

Separate the sign from the stock material
When we created the contour cut toolpath for our sign, it was set up to produce the workholding tabs. These tabs are designed to keep the sign attached to the stock material and prevent it from moving during cutting.
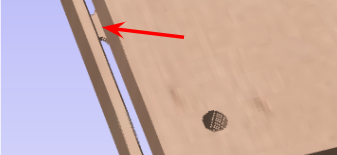
Now we can break the tabs using a sharp utility knife or a multitool cutter.

Break the tabs close to the stock material to prevent accidental damage to your job.

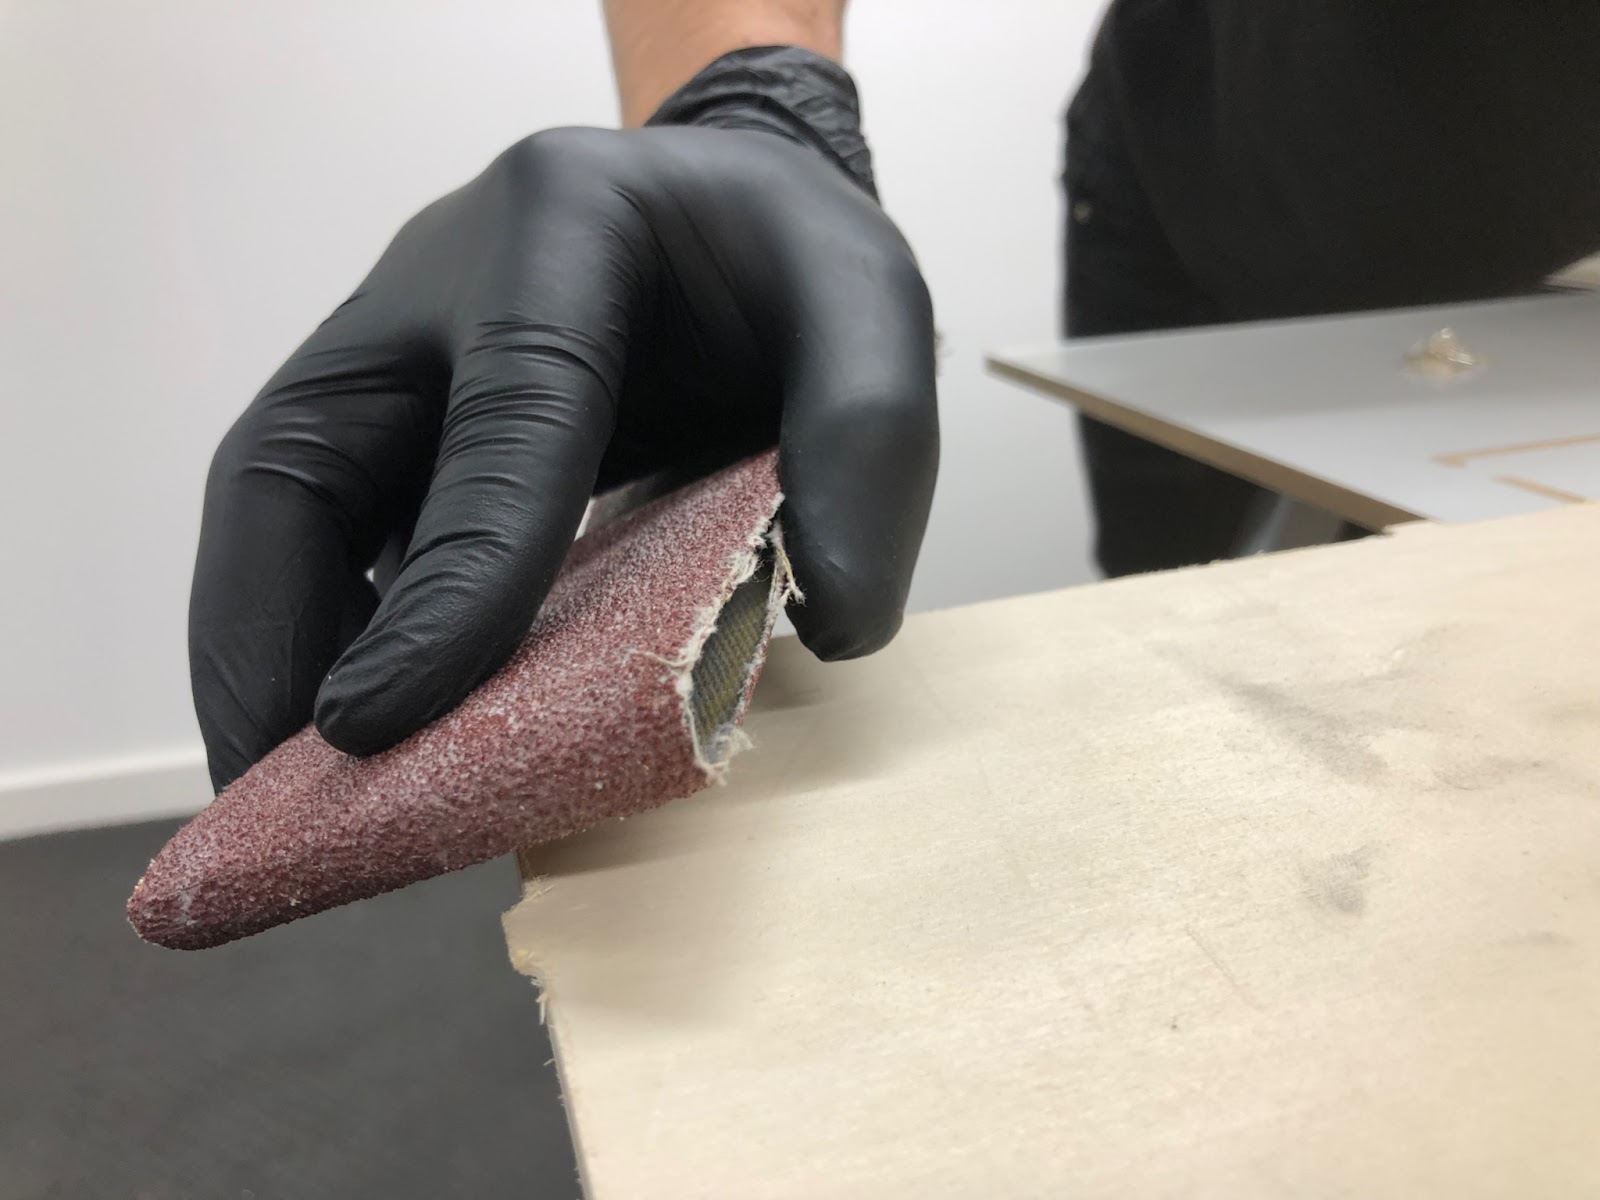
Once the sign is detached from the stock material, use a file and sandpaper to smooth the edge of the sign at the tabs locations.
Remove stock material
Undo the screws attaching the stock material to the spoilboard and remove the stock material from SmartBench.

Give your machine a thorough clean with a vacuum cleaner to prepare it for the next job.
Power off SmartBench
If you don’t need to use SmartBench, you can power off the machine.
|
|
Click here to learn how to properly shutdown and power off SmartBench. |
Click here if you want to learn more about designing your own projects with CAD/CAM software.