
Fitting a spoilboard
The spoilboard acts as a sacrificial layer which protects SmartBench when the cutter breaks through the bottom surface of the stock material. It also increases the support provided by the Lower X Beam.
In this project our spoilboard will be using an 8’ x 4’ sheet of 9mm melamine faced MDF. The material is:
-
Rigid
-
Flat
-
Smooth at the bottom
-
Bigger than stock material
Click here to learn what makes a good spoilboard for routing.
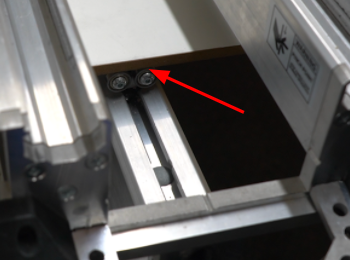
Before we can put the spoilboard or stock material onto SmartBench we need to raise the Upper X Beam to create a space for them to fit. Release the cam-locks on either end to lift the beam.

Place the spoilboard on the Y Bench, sliding it under the Upper X Beam.
Align the spoilboard by measuring off the edge of the Y bench at either end while ensuring that it is over the rollers on the Lower X Beam.

When you are happy with the alignment, clamp the spoilboard in place.
In this project we are going to hold the spoilboard down with speed clamps at either end (on the leg plate on the home end and on the wheel tracks at the far end).
