
Setting up the laser datum
Before you use the laser crosshair to set a datum for the first time, you need to calibrate and save the laser datum offset. You can use the Maintenance app to do this easily.
|
|
If you try to use the laser datum before calibrating the offset for the first time, your datum will not be set where you expect! The laser datum is not set in the factory, as the calibration is sensitive and may be affected during shipping. |

|
|
The laser datum offset is the distance between the tool and the centre of the laser crosshair. |

When should the laser offset be calibrated?
You will need to calibrate the laser offset if:
-
You are setting up SmartBench for the first time;
-
the Z Head is replaced (e.g. an upgrade);
-
the laser has been moved or refocused;
-
or any other time that the distance between the tool and the centre of the laser crosshair may have changed.
You will need:
-
SmartBench PrecisionPro;
-
Scrap material;
-
Tool (or pen and CNC Stylus) for making a reference mark.
If you have not already homed SmartBench, you should do so now.
Turn on the laser crosshair
In the console lobby, use the arrow buttons to scroll through until you see the Maintenance button.
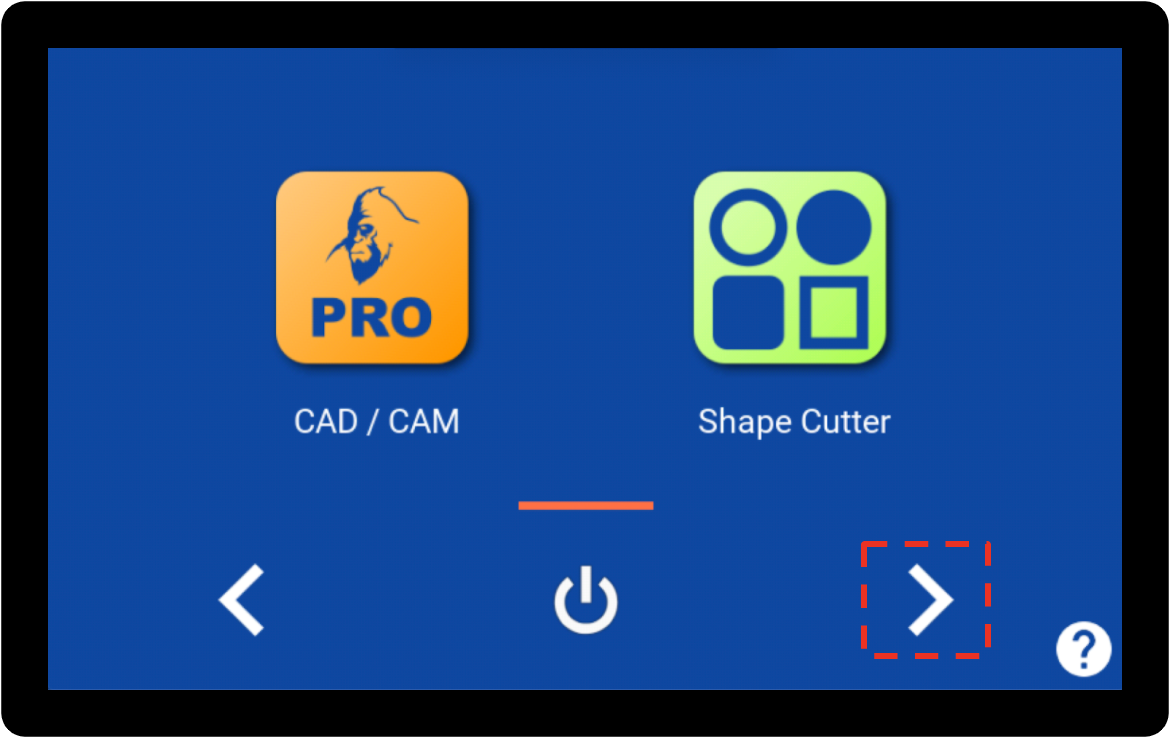
Press the “Maintenance” button.

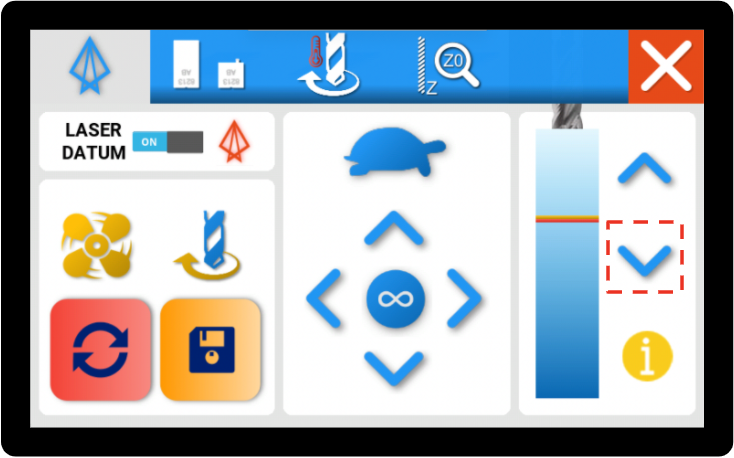
Press the laser datum switch to enable the laser datum.

You will see the laser crosshair come on under the Z Head.

Make a reference mark
With a tool in the spindle, or a pen in your CNC Stylus if you have one, make a mark on a piece of scrap material using manual moves.
|
|
Make the reference mark closer to the Home end of the X axis, so that you can easily see it when you need to position the laser crosshair in the next step. |
Use the manual move buttons to position the Z Head over your scrap material.

Turn on the extractor (if you are not using a CNC Stylus).

Turn on the spindle (if you are not using a CNC Stylus).

Use the manual move buttons to lower the Z Head to make a mark.
Raise the Z Head using the manual move buttons.
|
|
DO NOT move SmartBench in the X or Y axis. |

Turn off the spindle and extractor.

Your mark should look like this:

Save the position of your reference mark
Press the “Reset” button on the bottom left of the Console screen.
|
|
It is important that you only press “Reset” while the tool is still directly above the mark it made on the material. |

|
|
Pressing “Reset” tells SmartBench that you are about to save a new offset, relative to this current position in the XY plane. |
Calibrate the laser crosshair against the reference point
Use the XY manual move buttons to position the laser crosshair centrally over the mark that you just created.
You can change the distance of motion by pressing the button in the center of the XY manual move buttons. This will toggle the distance that the axis will move for one press of the job button between: infinity, 10mm, 1mm, 0.1mm and 0.01mm.

Line the crosshair up with your reference mark as accurately as possible:

Press the “Save” button.

Confirm that this is where you would like to set your laser offset.

You will see the following popup if the offset has been set successfully. Press “Ok”.

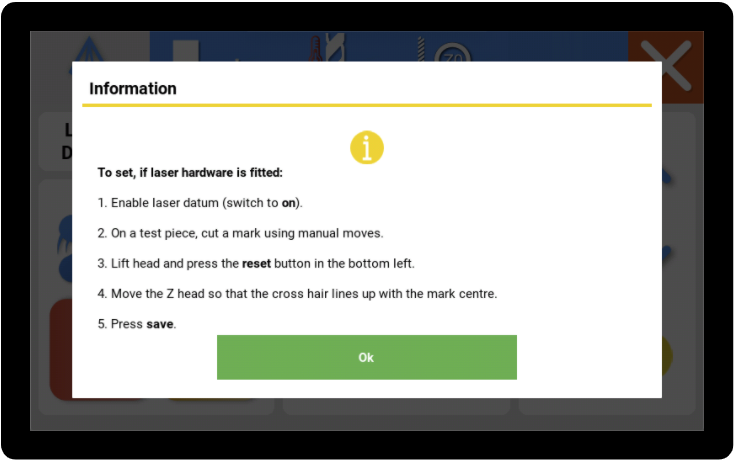
If you need a reminder...
You can check the instructions at any time by pressing the “Info” button in the bottom right of the console screen.

Exit the Maintenance app
Exit the Maintenance App by pressing the “X” in the top right corner of the console screen.
